Remote desktop access of CentOS server : How to
In this article, I would be teaching you how to take remote desktop of centOS server using nx-server-client. There are alternatives like vnc server, but they’d cause too much trouble for you if you’re new.
Your life becomes really easy if you take RDP aka remote desktop of centOS to your VPS / Dedicated server to work on it. Because, if you are new to server management, command line would not do everything for you. Meanwhile you learn SSH and linux commands, it is a good idea to work on the server using remote desktops. There are several ways of taking remote access, however, we’re going to look at the once that’s easiest and least time consuming.
- Connecting to server using Putty:
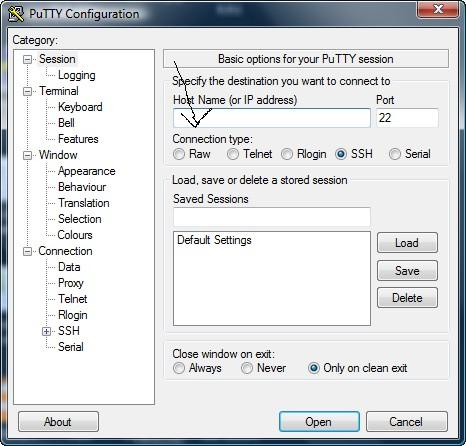
Putty is a little tool that will let you connect to your server using SSH. It will basically give you access to the terminal / command prompt of your server so that you can work on it and make changes. So first thing you want to do is, download putty FROM HERE. Once you have putty downloaded, open it up. It should look something like below:
Putty screen shot
Now, the place where you see an arrow pointed, insert the IP of your server and it will connect to it. All you gotta do is, input your root username and password to get access. [Note- You will not see anything happening when you'd type the password.]
- Downloading GNOME Desktop environment:
Now that you’re connected to your server, next thing we’d be doing is, installing GNOME Desktop environment, which will create desktop on your server. Copy the following command and hit enter.yum groupinstall ‘GNOME Desktop Environment’ ‘X window system’
- This download will take several minutes [may be 15 to 20] depending on the speed of your internet. Once installation completes, issue the following command to make sure everything is up to date.
yum update
- Now what we have is a server with GNOME Desktop installed on it, next thing we’d be doing is, installing nx-server-client on your server as well as desktop so that you can take the Remote Desktop of centOS. Issue the following command to install nx-server on your server.
yum install nx freenx
- Once the nx server has been installed successfully on your server, again you’d want to update the server using same “yum update” command.
- Once everything is done, you are required to restart your server using following command.
shutdown -r now
- Now your server is totally ready. All you need is the NX client on your own desktop, so that you can connect to the server. You can download NX Client FORM HERE. Here’s a screen shot to give you an idea.

Downloading NX Client
- Once you have NX Client installed, open it and It should look something like the screenshot shown below. All you have to do is, insert your server’s IP, Select “GNOME” as desktop environment.

- You will also see a button called “KEY”. You need to get this key from your server using Putty again. Connect to your server using putty and issue the following command to get the key.
cat /var/lib/nxserver/home/.ssh/client.id_ds.key
- Now copy this key and paste it into the NX client of your desktop. Click on OK and it will open up a login box as shown below. All you need to do is, input the root username and password and click on Connect.

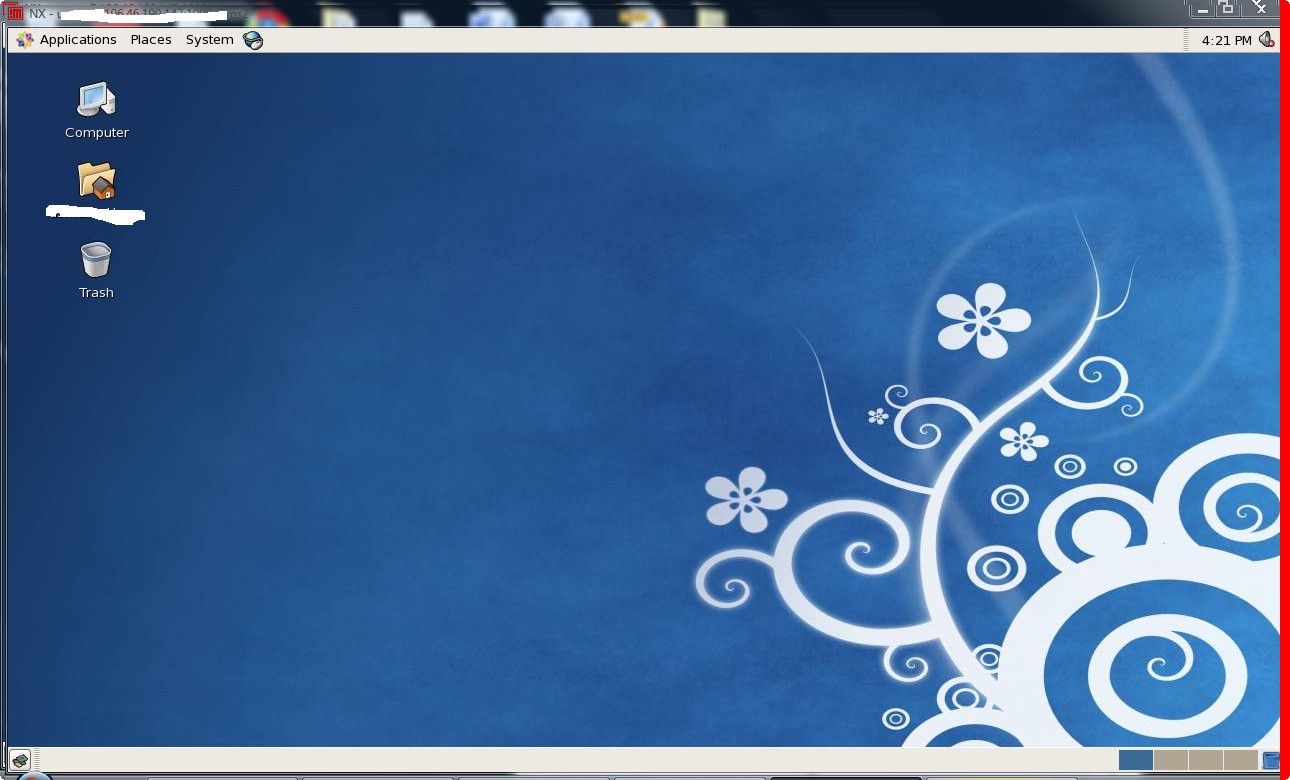
- You should see following screens.


Incoming search terms:
- hack rdp from centos (3)
- hacking remote root password (2)
- rdp hack (2)
- install remote acecss hackingtalks com (1)
- installing remote access hackingtalks com (1)
- installing remote desktop on centos server (1)
- phpmyadmin exploit# (1)
- phpMyAdmin Lion download (1)
- 2011 RDP hack (1)
- phpmyadmin os lion (1)
- remote desktop centos (1)
- remote desktop in centos (1)
- rhel rdp client 2011 (1)
- how to turn remote desktop on through putty on Centos (1)
- how to rdp to centos (1)
- How to install yammar desktop in centos (1)
- centos gnome remote desktop (1)
- centos rdp (1)
- centos remote desktop 2011 (1)
- centos remote desktop client (1)
- Enable Remote Desktop on CentOS from command line (1)
- hacking root password centos from the client (1)
- hacking server from remote desktop (1)
- how to get centos root password via putty (1)
- how to hack RDP with centos (1)
- how to hack server remotely (1)
- what is server hacking (1)